Getting Started with Scala 3
Dive into Scala 3 with The Turing Taco Tales' first article in the series! Uncover the essentials of this powerful language, from syntax to core concepts. Join us for an insightful journey into Scala 3 and subscribe for more in-depth explorations in upcoming articles.

Overview
As a young student at the university, my approach to learning programming was grounded in pragmatism. I gravitated towards Microsoft's programming languages, seeing them as options with higher commercial viability. This practical mindset led me to view some mandatory classes on Cobol and, later on, Functional Programming (FP) with Lisp with a degree of skepticism.
Cobol didn't quite capture my interest, and at the time, I dismissed Lisp as not directly relevant to my career aspirations. Looking back, I recognize my underestimation of Lisp and FP as a missed opportunity to dive deeper into a programming paradigm with significant conceptual and practical merits, not to mention one with excellent financial prospects a decade later.
When I finally received my first international job offer, it was not for a position in Microsoft Technologies. I was expected to work in Java, a language I hadn't used before. Surprisingly, my background in C# enabled me to pick up Java quickly. This experience was a revelation: the specific language might change, but the underlying programming and computer science principles remain constant and transferable.
What is the point of my story? A specific language's commercial viability is a moving target, and personal circumstances often dictate our paths in ways we can't predict. However, there are foundational skills of computer science and adaptable programming techniques that keep their value over time and are transferable across different tools and languages. Investing in acquiring them pays off in the long run.
Scala 3 is an outstanding choice for aspiring and experienced programmers. Scala 3 doesn't force a choice between academic rigor and commercial applicability. Instead, it allows us to learn advanced computer science concepts in the widely-used JVM platform.
We would be happy if you chose to discover Scala 3 with The Turing Taco Tales as your companion.
The Scala Language Origin Story
Scala, created in 2001 by Martin Odersky at the École Polytechnique Fédérale de Lausanne (EPFL), emerged as a modern and expressive language to address some of Java's limitations. Odersky, inspired by his work on Java Generics and the Funnel programming language, combined functional and object-oriented paradigms to create Scala. The Internet comes with a bundled Time Machine, a delight for history buffs, and here we can find an interesting early interview with Martin Odersky.
Scala's approach to object-oriented programming is unique: every top-level declaration is an object, eliminating the need for static methods. This design encourages a more uniform and intuitive object-oriented structure. To understand Scala's object model, this article provides a comprehensive overview.
Scala 3 marks a significant evolution of the language, aiming to simplify and make the language more consistent and potent. Scala 3 is the only mature language I know that supports intersection types, allowing for expressive type definitions that would require more boilerplate in other languages if the concept can be expressed.
Scala 3 isn't just a new version of Scala; it's a step toward realizing the language's full potential. With improved features like union types, enhanced pattern matching, and a more straightforward syntax, Scala 3 sets a new foundation for the Scala ecosystem.
About Discovering Scala
As a developer and mentor, I've observed a typical pattern among learners: those who start their programming journey with sophisticated tools like Integrated Development Environments (IDEs) and automated build tools often miss out on understanding the underlying processes. While not immediately evident, this knowledge gap can become a significant hurdle.
While these tools are undoubtedly helpful and have their place in the SDLC, they automate many processes we must understand to have a well-rounded skill set. This lack of awareness can become a liability, especially when things go awry. If you encounter a broken build or a perplexing bug with a grasp of the underlying mechanics, resolving such issues becomes manageable.
To address this, our journey with Scala 3 will be different. We'll start with the basics, using a simple text editor and the command line. This approach will allow us to peel back the layers of abstraction and truly understand what's happening under the hood.
Step 1: Setting Up with Coursier and Scala-cli
We'll begin by installing Coursier, followed by Scala 3 and Scala-CLI. This setup will provide us with the necessary tools to compile and run Scala code without the complexity of an IDE or extensive build systems.
Coursier simplifies the process of downloading and installing several Scala Tools and versions. It is process automation, but we consider the automated tasks to be preconditions, and explaining how to download tools and packages individually would distract us from learning the language.
This is a justified concession to move faster into learning exciting language features without dangerous compromises on understanding the fundamental mechanics of compiling and running our code.
Step 2: Hands-On Exploration
We will explore Scala 3's syntax and features through hands-on exercises using Scala and Scala-CLI. This phase is about getting comfortable with the language's raw form and understanding each step of the compilation and execution process.
Step 3: Gradual Advancement
As we progress and delve into more complex projects, we will discuss and introduce build tools like SBT, Maven, or Mill. This progression ensures that by the time we start using these tools, we have a solid grasp of the processes they automate, making us more capable and versatile developers.
The End Goal
This series is designed to build a strong foundation in Scala 3. By understanding the core processes and gradually introducing more complex tools, we equip ourselves with 'how' and 'why' knowledge.
Whether you're just starting or looking to deepen your understanding of Scala, this journey will empower you with the skills and knowledge to tackle any challenge that comes your way.
Installation and Our First Program in Scala
Installing the Tools We Need
We'll start installing Coursier, a tool that simplifies managing Scala's environment and tools.
- Download and Install: Visit the Coursier installation page and follow the instructions for your operating system.
- Verify Installation: Open your command line and type cs --help after installation. If Coursier is correctly installed, we will see the help for the command.
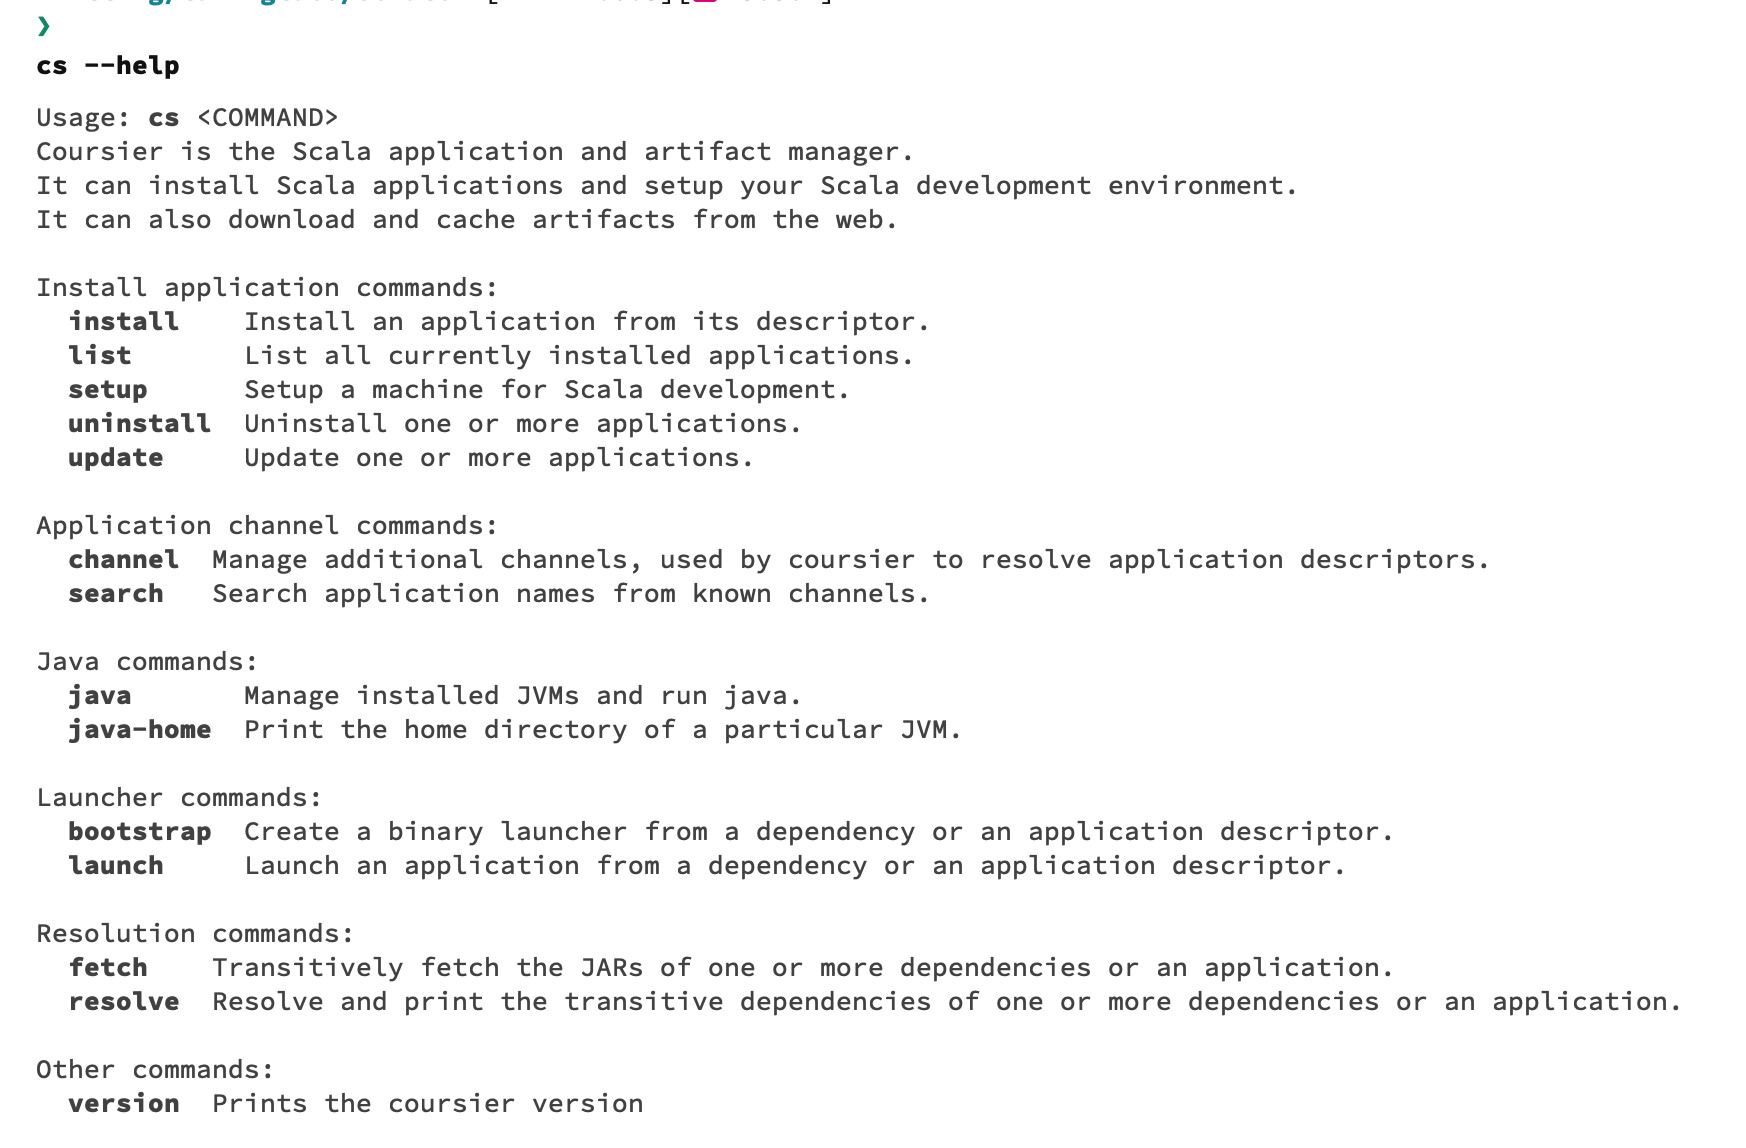
cs command.Once Coursier is set up, we can install Scala 3.
- Install Scala: Execute
cs install scala3-compiler scala3. This command installs both the Scala 3 compiler and the runtime. - Verify Scala Installation: Type
scalac -versionandscala -versionin your command line to ensure the compiler and runtime for Scala 3 are installed.
Writing and Running Our First Scala Program
Let's write a simple Scala 3 program to demonstrate how to compile and run a Scala program.
- Create a Scala File: Open your text editor and create a new file named
HelloWorld.scala. Enter the following code:
@main def helloWorld(): Unit = {
  println("Hello, Scala 3 World!")
}
- Compile the Program: In your command line, navigate to the directory containing
HelloWorld.scala. Compile it using the Scala 3 compiler withscalac HelloWorld.scala. - Run the Compiled Program: After compiling, run your program with
scala HelloWorld. You should seeHello, Scala 3 World!printed on the console.
This simple exercise introduces us to the basic workflow of writing, compiling, and running a Scala 3 program using Coursier to install our toolchain.
As we progress, we'll explore more sophisticated features of Scala 3 and how to use them in your programs effectively.
Interactive Programming in the Scala REPL
The Scala REPL (Read-Eval-Print Loop) is a powerful tool for interactive programming, enhancing our learning and development experience.
It's an environment where we can enter Scala expressions and immediately see the results, facilitating a dynamic and exploratory approach to coding.
REPL stands for Read-Eval-Print Loop. It's a simple, interactive computer programming environment that takes single user inputs (i.e., single expressions), evaluates them, and returns the result to the user. It's a concept that's been around since the early days of Lisp programming and has been adopted by many modern programming languages, including Scala.
The REPL is particularly useful for:
- Experimentation and Learning: Testing ideas quickly without the overhead of writing a complete program.
- Rapid Prototyping: Quickly prototyping code snippets and algorithms.
- Debugging: Isolating problematic code and experimenting with solutions in real time.
Using the Scala REPL
Since we already installed the Scala Runtime, typing scala in our terminal, without any parameters, will start the Scala REPL. In the REPL, we can write Scala code, and it will be evaluated instantly:
$ scala
scala> val language = "Scala"
language: String = Scala

scala> println(s"Hello, $language!")
Hello, Scala!
This interactive session exemplifies the REPL's utility for quick and responsive programming, akin to what many users enjoy in dynamic languages from LISP to Python.
The Scala Starter Kit: Key Concepts and Basic Syntax
In this introduction to Scala 3, we'll explore essential syntax and fundamental programming concepts. We can type these examples directly into the Scala REPL for an interactive experience.
Scala 3 introduces significant whitespace, which we'll use here, and explain the syntax rules in more detail in our next article.
Basic Types in Scala
Scala treats everything as an object, including basic types like integers, booleans, and strings. This approach simplifies the language, but we do not pay a performance penalty because the compiler optimizes most of the overhead away.
Here’s a quick rundown of primary types in Scala:
- Integers:
Int,Long,Short,Byte - Floating Point Numbers:
Float,Double - Boolean:
Boolean - Characters:
Char - Strings:
String
Variables and Immutable Values
Scala emphasizes immutability. To declare immutable values, we use the val keyword. Once assigned, their value cannot be changed, promoting safe and predictable code:
val age: Int = 30
val temperature: Double = 36.5
val initial: Char = 'S'
val isValid: Boolean = true
val greeting: String = "Hello, Scala!"
Scala also supports mutable variables using var, but we will try to avoid its use in favor of immutability:
var counter: Int = 2 // Mutable variable
Scala's type inference reduces the need for explicit type declarations:
val age = 30
val temperature = 36.5
val initial = 'S'
val isValid = true
val greeting = "Hello, Scala!"
The type inference works hand in hand with type literals for the native types:
// Integer Literals
val decimal = 42
val hexadecimal = 0x2A
val long = -10_000_000_000L

// Floating Point Literals
val float = 3.14F
val double = 3.14

// Boolean Literals
val truth = true
val falsehood = false

// Character and String Literals
val char = 'A'
val string = "Scala"

val multilineString = """This is a
                          multiline
                          String"""
Most literals are self-explanatory. An interesting one in line 4 is how we can write long decimal numbers with an _ whose only purpose is to make the number more readable. The L at the end informs the compiler that it should infer a Long type instead of the integer default.
Conditional and Loop Expressions
Scala provides various control structures like loops and conditionals. For instance:
// Using a for loop
val evens = for i <- 1 to 5 yield i * 2

// Conditional expression (if-else)
val result = if x > 0 then "Positive" else "Negative"
The distinction between expression and statements is a fundamental one to understand. For a detailed explanation, please take a look at the companion mini-article.
Functions and a Simple Prime Number Checker
Functions are fundamental in Scala. We can declare them using def followed by the name and then by the list of arguments in parenthesis. The optional result type is displayed after a colon, and the definition comes after an equal sign:
def isPrime(n: Int) =
  if n <= 1 then false
  else !(2 to scala.math.sqrt(n).toInt).exists(n % _ == 0)

@main def runPrimeCheck() =
  val number = 29
  println(s"Is $number a prime number? ${isPrime(number)}")
In this program, the runPrimeCheck function is the entry point, thanks to the @main annotation. We're utilizing significant whitespace, a Scala 3 feature, which we'll explore in more depth in our next piece.
Suppose we save the previous code in a file called FirstProgram.scala. In that case, we can compile it with scalac FirstProgram.scala, which will create an executable class called runPrimeCheck.class that can be run with scala runPrimeCheck, or we can run it directly using scala FirstProgram.scala.
Conclusion
We've completed our first foray into Scala 3, touching on the fundamental aspects from basic syntax to core concepts like loops, conditionals, and functions. This is just the start of our journey into the rich and versatile world of Scala 3.

We'll continue diving into more advanced features and build increasingly complex programs until we write complete applications.
Take advantage of this exciting adventure into Scala 3. Subscribe to The Turing Taco Tales for more insightful articles, and join us as we explore the full potential of this remarkable language.
Addendum: A Special Note for Our Readers
I decided to delay the introduction of subscriptions. You can read the full story here.
If you find our content helpful, there are several ways you can support us:
- The easiest way is to share our articles and links page on social media; it is free and helps us greatly.
- If you want a great experience during the Chinese New Year, I am renting my timeshare in Phuket. A five-night stay in this resort in Phuket costs 11,582 € on Expedia. I am offering it in USD at an over 40% discount compared to that price. I received the Year of the Snake in style.

ReedWeek Timeshare Rental
- If your finances permit it, we are happy over any received donation. It helps us offset the site's running costs and an unexpected tax bill. Any amount is greatly appreciated:
- Finally, some articles have links to relevant goods and services; buying through them will not cost you more. And if you like programming swag, please visit the TuringTacoTales Store on Redbubble. Take a look. Maybe you can find something you like: